Free shipping from €95
Direct prices for private and commercial
30-day return policy
Ordered today, delivered tomorrow

ALMO Eco Tape 50 adhesive tape

Quantity Unit price Base price
To 2
€125.50
€10.46 / 1 RL
To 4
€119.50
€9.96 / 1 RL
From 5
€113.80
€9.48 / 1 RL
  • Stretchable & extremely adhesive
  • High flexibility & aging resistance
  • Airtight bonding & sealing
Dimensions
25 m X 50 mm
Rolls per carton
12 Rolls
Execution
Total:
Box
Product number: SW10052.1

Available variants

  • Extreme adhesive strength
  • Stretchable
  • For the interior

Product advantages

Für den Innenbereich

For indoor use

Airtight bonding & sealing

Einfache Montage

Simple installation

Time saving

Starke Klebkraft

Strong adhesive strength

High quality

EXTREME ADHESIVE STRENGTH AND FLEXIBILITY

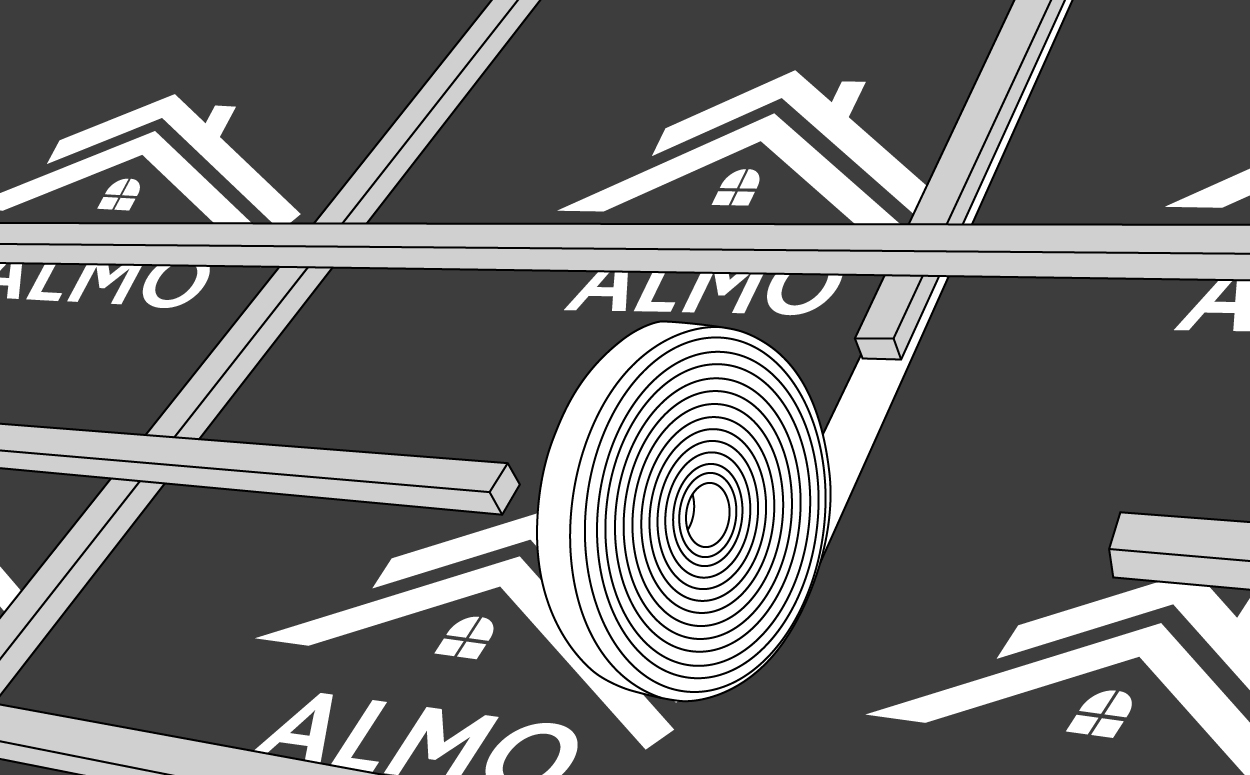
Permanent airtight sealing of vapor retarders, roof and façade membranes for indoor use. Ideal for overlaps, connections and repairs.

HIGH AGEING RESISTANCE

The high-quality acrylic adhesive ensures that the high-performance tape is securely anchored over a long service life. Moisture-resistant and durable.

FREE FROM RESIDENTIAL TOXINS

Our ALMO Eco Tape 50 is free from solvents, chlorine and formaldehyde.

Technical data

Carrier system Grid-reinforced LDPE film
Adhesive Modified dispersion acrylate
Coverage Silicone paper
Roll length 25m
Width 50mm
Temperature resistance -40 °C to +100 °C
Processing temperature -5 °C to +40 °C

ALMO 10 Year Systemgarantie

Our store ratings
Carrier system: Grid-reinforced LDPE film
Adhesive: Modified dispersion acrylate
Roll length: 25m
Width: 50mm
Temperature resistance: -40 °C to +100 °C
Processing temperature: -5 °C to +40 °C

Use for this

Use with

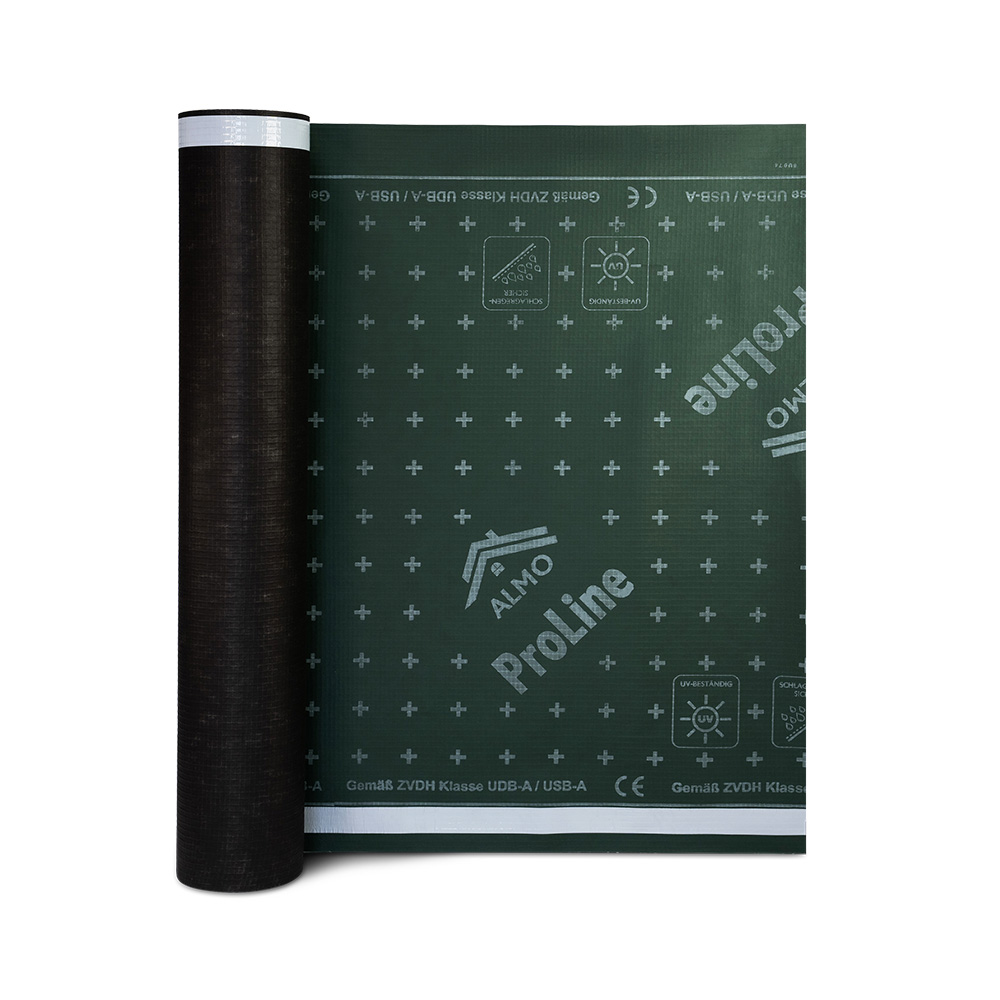
ProLine 220G Roof membrane
  • Grid reinforced
  • Open to diffusion
  • Integrated self-adhesive seam
(4)

Content: 75 m² (€2.00 / 1 m²)

From €57.89
Topseller
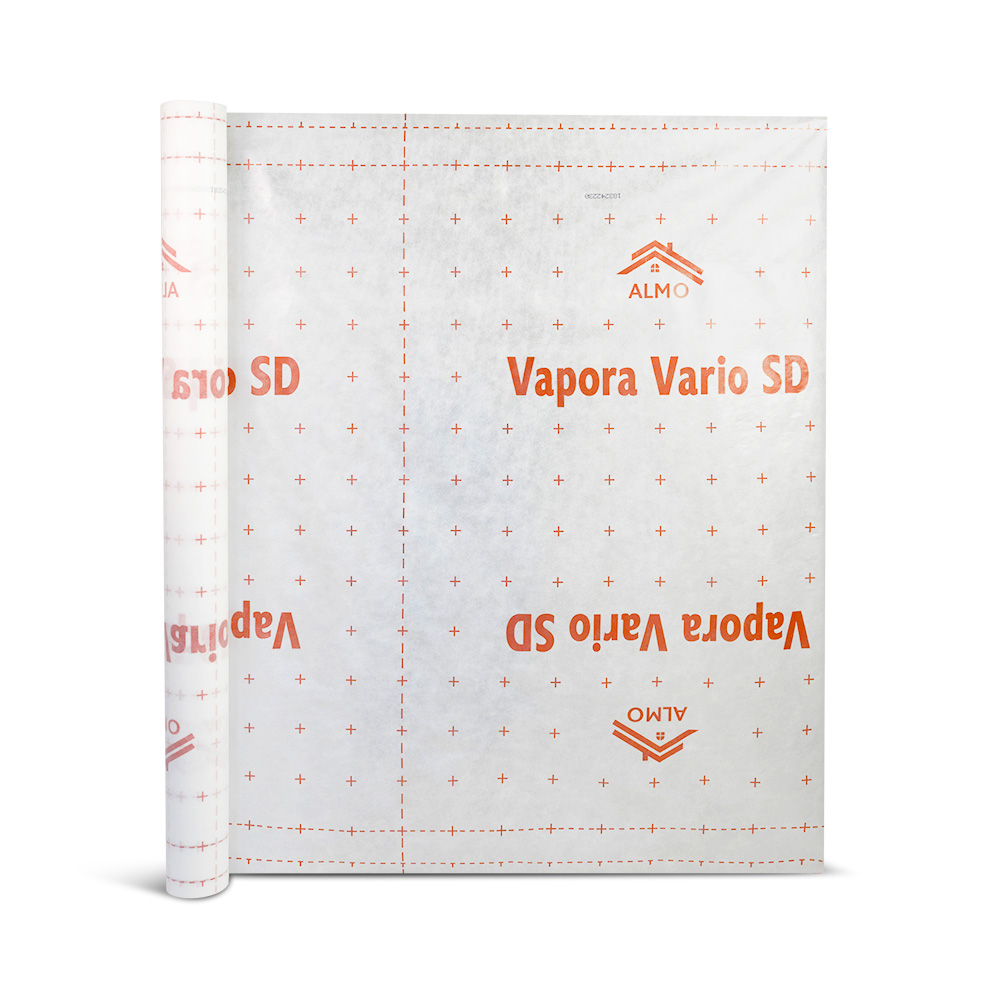
Vapour barrier Vapora Vario SD
Execution: 1.5m x 25m
  • Variable humidity regulation
  • With laying and bonding lines
  • Tearproof and dimensionally stable

Product advantages

Variable moisture regulation

Variable moisture regulation

Sd-value 0,4m - 3m

Stretchable and flexible

Stretchable and flexible

Adaptable & robust

Laying lines

Laying lines

Easy alignment & time saving

HIGH FUNCTIONALITY AND SAFETY

The ALMO vapor barrier is tear-resistant, dimensionally stable and meets the strict requirements of fire class B as well as the ZVDH and EnEV standards, making it ideal for new builds, conversions and renovations. Provides the best protection against structural damage and mold.

OPTIMUM MOISTURE REGULATION

Thanks to the variable sd value of 0.4m to 3.2m, our vapor barrier film adapts to seasonal conditions to effectively regulate moisture and prevent the formation of condensation.

BREATHABLE

The high-quality vapor barrier is breathable and helps to create an airtight building envelope that improves the indoor climate and increases energy efficiency.

UNIVERSALLY APPLICABLE & SUSTAINABLE

Our ALMO vapor retarder combines moisture-regulating properties with outstanding re-drying potential to promote sustainable, robust and healthy construction. Particularly suitable for internal and external insulation between rafters and for insulation on top of rafters with mineral insulation.

EASY INSTALLATION

The vapor barrier foil is easy to install and supports fast and error-free installation thanks to the gluing and laying lines.

Technical Data

Application Vapor barrier
Features Variable Sd value, Fire classification B
Diffusion-equivalent air layer thickness (sd value) 0,4m - 3m variable
Grammage 90 g/m²
Roll dimensions 25m x 1,5m
m² per roll 37,5
Processing temperature -5 °C to +40 °C
Fire classification Class B - s2 - d0
Resistance to water passage W1 (according to DIN 1928)

ALMO 10 Years Systemgarantie CE Sign

Installation instructions for Vapora Vario SD vapor retarder

Step 1 Picture

Step 1: Laying and fixing the vapor barrier

Lay the ALMO Vapora Vario vapor barrier on the rafters and fix it either with a stapler or by masking it with the ALMO TwinTape.

Step 2 Picture

Step 2: Overlapping installation and airtight connection

Lay the second vapor barrier film with an overlap and also fix it in place either with ALMO TwinTape or by stapling. Connect the two vapor retarders with the Versa® Uni Tape 60 Adhesive tape for additional sealing. Use the overlap guide line for an overlap of 10 cm. For airtight bonding, you can use the auxiliary line at 30 mm to ensure optimum sealing with the 60 mm wide Versa® Uni Tape 60.

Step 3 Picture

Step 3: Airtight bonding of the folds

To ensure an airtight seal, tape the folds of the vapor barrier in a T-shape with the Versa® Uni Tape 60 .

Step 4a Picture

Step 4a: Transverse counter battens and protective cladding

Attach counter battens across the structure to support the weight of the insulation material. Then install the interior cladding to protect the vapor barrier from mechanical influences.

Step 4b Picture

Step 4b: Longitudinal installation for heavy insulation materials

For wide rafter bays or heavy insulation material, we recommend laying the Vapora Vario SD in the direction of the rafters and installing the counter battens lengthways.

Step 5 Picture

Step 5: Terminating and sealing penetrations

For penetrations such as pipes, make a star-shaped cut and seal the pipe with small pieces of the Versa® Uni Tape 60 off. Alternatively, a flange can be inserted and securely bonded with Versa® Uni Tape 60.

Our store reviews
(5)

Content: 37.5 m² (€2.13 / 1 m²)

Variants from €43.60
€79.80
Roll
Topseller
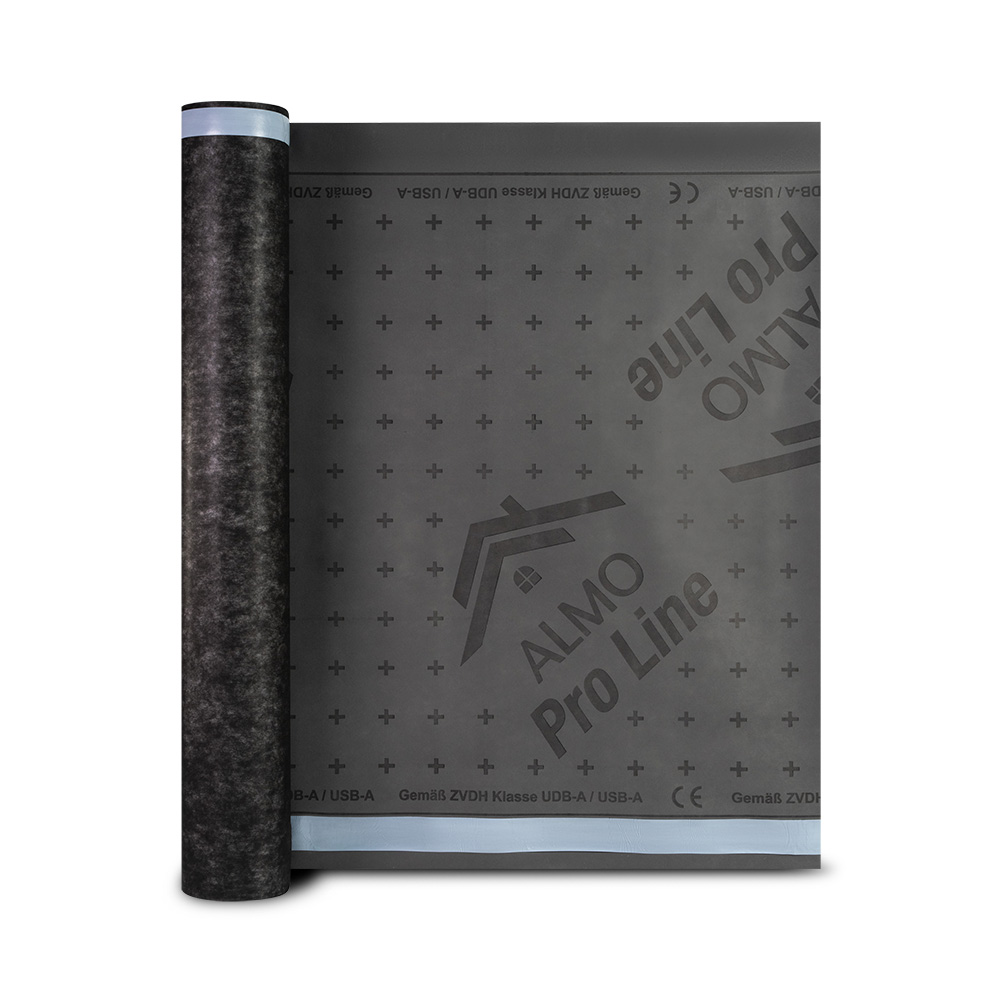
ProLine 150 Roof and facade membrane
  • Driving rain proof
  • Open to diffusion
  • Integrated self-adhesive seam
(20)

Content: 75 m² (€1.56 / 1 m²)

From €43.50
Topseller
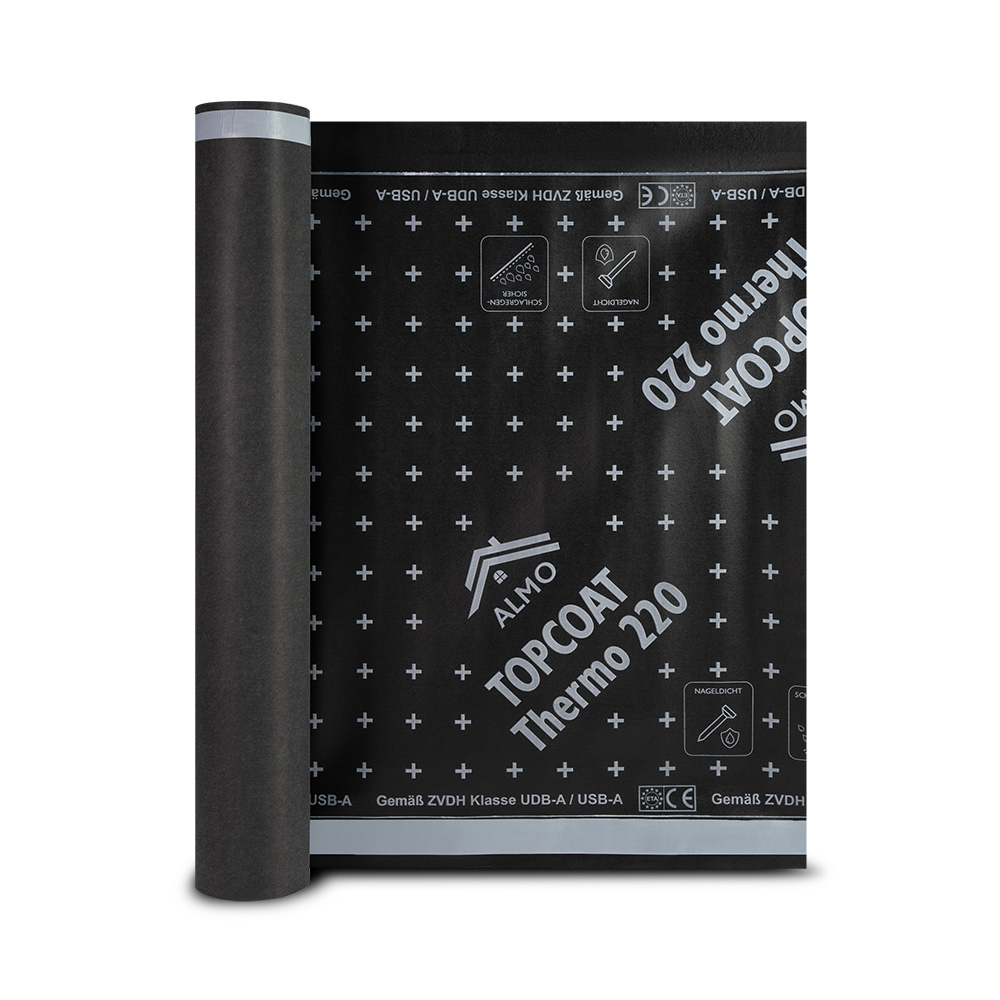
TOPCOAT Thermo 220 Roof membrane
  • Permanently UV-resistant
  • Heat resistant
  • Nail-tight
(8)

Content: 75 m² (€2.79 / 1 m²)

From €48.50
TOPCOAT TPU 240 Roof membrane
  • Nail-tight
  • Highly diffusible
  • TPU coating

Product advantages

Nail-tight

Nail-tight

Penetration protection

UV-resistant

UV-resistant

Long-term protection

Temperature resistant

Temperature resistant

Withstands extreme conditions

UV-RESISTANT & DURABLE

With a UV resistance of up to 3 months and a robust polyurethane (TPU) coating, our underlayment offers long-lasting protection and durability.

NAIL-TIGHT & RESISTANT TO DRIVING RAIN

The TOPCOAT TPU 240 underlay offers high nail tightness and is resistant to driving rain to ensure maximum protection in all weather conditions.

HIGHLY DIFFUSIBLE

The sd value of 0.15 m guarantees effective moisture regulation and prevents condensation, thereby preventing mold growth.

TEMPERATURE RESISTANCE

Withstands extreme temperatures from -40°C to +100°C while remaining flexible and functional.

TIME SAVING

The integrated self-adhesive seam saves time during installation and ensures quick and secure installation, even with overlaps and connections.

Technical Data

Application Underlayment
Features Self-adhesive seam, nail-tight
Carrier system Polyester fleece
Functional layer Polyurethane (TPU) coating
Grammage 240 g/m²
Roll dimensions 40m x 1,5m
Diffusion-equivalent air layer thickness (sd value) 0,15m
Maximum tensile force longitudinal / transverse in N / 50mm 350/310
Roof pitch 10°
m² per roll 60
Suitability as temporary covering 12 Weeks
UV resistance 3 months
Temperature resistance -40 °C to +100 °C
Fire classification Class E (according to EN 13501-1)
Resistance to water passage W1 (according to DIN 1928)

ALMO 10 Years Systemgarantie TU Berlin driving rain-proof Nail tightness proven ETA Denmark ZVDH CE Sign

TOPCOAT TPU roofing membrane installation instructions

Step 1 Picture

Step 1: Align and prepare the roof membrane

The ALMO TOPCOAT TPU 240 sarking and underlay membrane should be laid starting at the lower part of the roof pitch and parallel to the eaves. The printed side is the upper side and faces the installer during installation. The membrane is rolled out directly onto the rafters or onto the fully sheathed roof. The underlay should protrude slightly after positioning.

Step 2 Picture

Step 2: Attachment in the eaves area

In the eaves area, the roofing membrane must be fastened under the counter battens on the eaves sheet or above the eaves batten on the gutter lashing. At the same time, water pockets and counterfalls should be avoided. Fasten the underlays to the rafters with nails or staples.

Step 3 Picture

Step 3: Nail sealing tape and counter battens

To keep the rafters watertight, we recommend using a strip of our Nail sealing tape 60 under the counter battens. After spreading the membrane, counter battens and battens should be attached. The counter battens create a gap between the membrane and the battens. Ensure that all points where nails or staples pass through the membrane are sealed with nail sealing tape and are located under the counter battens.

Step 4 Picture

Step 4: Overlapping and bonding underlayments

Another strip of membrane should be applied with a 10-15 cm overlap. To make the installation of the roofing membrane efficient, avoid draughts and keep the overlaps watertight, use the adhesive strips integrated with the membrane, which are glued together.

Step 5 Picture

Step 5: Ridge sealing

For non-ventilated roof constructions, the membrane goes over the ridge to seal it against snow and rain. For ventilated roof constructions, the roof membrane should be approx. 5 cm from the highest ridge point. This ventilation opening should also be secured with a strip of roofing membrane fixed over a counter batten so that the membrane overlaps the roof surface by approx. 20 cm.

Step 6 Picture

Step 6: Sealing for eaves

In the case of roof projections such as chimneys, the sheets should be cut, pulled out and fixed with the ALMO Versa Uni Tape be sealed. Separate strips of membrane are glued to the surface and at the corners. An inclined foil gutter can be installed above penetrating building components. To form a temporary covering, connections to rising building components must also be bonded and secured to prevent them from running behind.

Step 7 Picture

Step 7: Seal overlaps to make them windproof

The resulting overlaps must be bonded laterally and transversely if wind-tightness is required. For a replacement overlap, the membrane strip of a foil gutter is extended to below the next ridge-side height overlap and taped all the way around. The open joints at the corners are taped to make them rainproof. Roof windows are integrated into the opening and fixed in place. If counter battens or the resulting frame are further away from the window, separate strips of membrane can be attached.

Our store reviews
(2)

Content: 60 m² (€2.91 / 1 m²)

From €174.50

Reviews

7 of 7 reviews

4.86 out of 5 stars


86%

14%

0%

0%

0%


Leave a review!

Share your experiences with other customers.


9 April 2025

Gutes Preis Leistungsverhältnis.

Super Klebeband, hohe Klebekraft

7 March 2025

Je recommande vivement

Le produit est très collant sur toutes surfaces. Livraison rapide et gratuite.

20 February 2025

Produkt macht und hält was es verspricht.

Produkt macht und hält was es verspricht. Klebt super .alles ok.

27 November 2024

Sehr gut

Sehr gut

27 November 2024

Preis+Leistung = Einwandfrei , Kaufe Ich wieder

Preis+Leistung = Einwandfrei , Kaufe Ich wieder

27 November 2024

Klebt extrem stark und lässt sich gut

Klebt extrem stark und lässt sich gut verarbeiten. Schneller Versand

7 October 2024

Ließ sich gut verarbeiten und klebte zufriedenstellend.

Ließ sich gut verarbeiten und klebte zufriedenstellend.

Use with

ProLine 220G Roof membrane
  • Grid reinforced
  • Open to diffusion
  • Integrated self-adhesive seam
(4)

Content: 75 m² (€2.00 / 1 m²)

From €57.89
Topseller
Vapour barrier Vapora Vario SD
Execution: 1.5m x 25m
  • Variable humidity regulation
  • With laying and bonding lines
  • Tearproof and dimensionally stable

Product advantages

Variable moisture regulation

Variable moisture regulation

Sd-value 0,4m - 3m

Stretchable and flexible

Stretchable and flexible

Adaptable & robust

Laying lines

Laying lines

Easy alignment & time saving

HIGH FUNCTIONALITY AND SAFETY

The ALMO vapor barrier is tear-resistant, dimensionally stable and meets the strict requirements of fire class B as well as the ZVDH and EnEV standards, making it ideal for new builds, conversions and renovations. Provides the best protection against structural damage and mold.

OPTIMUM MOISTURE REGULATION

Thanks to the variable sd value of 0.4m to 3.2m, our vapor barrier film adapts to seasonal conditions to effectively regulate moisture and prevent the formation of condensation.

BREATHABLE

The high-quality vapor barrier is breathable and helps to create an airtight building envelope that improves the indoor climate and increases energy efficiency.

UNIVERSALLY APPLICABLE & SUSTAINABLE

Our ALMO vapor retarder combines moisture-regulating properties with outstanding re-drying potential to promote sustainable, robust and healthy construction. Particularly suitable for internal and external insulation between rafters and for insulation on top of rafters with mineral insulation.

EASY INSTALLATION

The vapor barrier foil is easy to install and supports fast and error-free installation thanks to the gluing and laying lines.

Technical Data

Application Vapor barrier
Features Variable Sd value, Fire classification B
Diffusion-equivalent air layer thickness (sd value) 0,4m - 3m variable
Grammage 90 g/m²
Roll dimensions 25m x 1,5m
m² per roll 37,5
Processing temperature -5 °C to +40 °C
Fire classification Class B - s2 - d0
Resistance to water passage W1 (according to DIN 1928)

ALMO 10 Years Systemgarantie CE Sign

Installation instructions for Vapora Vario SD vapor retarder

Step 1 Picture

Step 1: Laying and fixing the vapor barrier

Lay the ALMO Vapora Vario vapor barrier on the rafters and fix it either with a stapler or by masking it with the ALMO TwinTape.

Step 2 Picture

Step 2: Overlapping installation and airtight connection

Lay the second vapor barrier film with an overlap and also fix it in place either with ALMO TwinTape or by stapling. Connect the two vapor retarders with the Versa® Uni Tape 60 Adhesive tape for additional sealing. Use the overlap guide line for an overlap of 10 cm. For airtight bonding, you can use the auxiliary line at 30 mm to ensure optimum sealing with the 60 mm wide Versa® Uni Tape 60.

Step 3 Picture

Step 3: Airtight bonding of the folds

To ensure an airtight seal, tape the folds of the vapor barrier in a T-shape with the Versa® Uni Tape 60 .

Step 4a Picture

Step 4a: Transverse counter battens and protective cladding

Attach counter battens across the structure to support the weight of the insulation material. Then install the interior cladding to protect the vapor barrier from mechanical influences.

Step 4b Picture

Step 4b: Longitudinal installation for heavy insulation materials

For wide rafter bays or heavy insulation material, we recommend laying the Vapora Vario SD in the direction of the rafters and installing the counter battens lengthways.

Step 5 Picture

Step 5: Terminating and sealing penetrations

For penetrations such as pipes, make a star-shaped cut and seal the pipe with small pieces of the Versa® Uni Tape 60 off. Alternatively, a flange can be inserted and securely bonded with Versa® Uni Tape 60.

Our store reviews
(5)

Content: 37.5 m² (€2.13 / 1 m²)

Variants from €43.60
€79.80
Roll
Topseller
ProLine 150 Roof and facade membrane
  • Driving rain proof
  • Open to diffusion
  • Integrated self-adhesive seam
(20)

Content: 75 m² (€1.56 / 1 m²)

From €43.50
Topseller
TOPCOAT Thermo 220 Roof membrane
  • Permanently UV-resistant
  • Heat resistant
  • Nail-tight
(8)

Content: 75 m² (€2.79 / 1 m²)

From €48.50
TOPCOAT TPU 240 Roof membrane
  • Nail-tight
  • Highly diffusible
  • TPU coating

Product advantages

Nail-tight

Nail-tight

Penetration protection

UV-resistant

UV-resistant

Long-term protection

Temperature resistant

Temperature resistant

Withstands extreme conditions

UV-RESISTANT & DURABLE

With a UV resistance of up to 3 months and a robust polyurethane (TPU) coating, our underlayment offers long-lasting protection and durability.

NAIL-TIGHT & RESISTANT TO DRIVING RAIN

The TOPCOAT TPU 240 underlay offers high nail tightness and is resistant to driving rain to ensure maximum protection in all weather conditions.

HIGHLY DIFFUSIBLE

The sd value of 0.15 m guarantees effective moisture regulation and prevents condensation, thereby preventing mold growth.

TEMPERATURE RESISTANCE

Withstands extreme temperatures from -40°C to +100°C while remaining flexible and functional.

TIME SAVING

The integrated self-adhesive seam saves time during installation and ensures quick and secure installation, even with overlaps and connections.

Technical Data

Application Underlayment
Features Self-adhesive seam, nail-tight
Carrier system Polyester fleece
Functional layer Polyurethane (TPU) coating
Grammage 240 g/m²
Roll dimensions 40m x 1,5m
Diffusion-equivalent air layer thickness (sd value) 0,15m
Maximum tensile force longitudinal / transverse in N / 50mm 350/310
Roof pitch 10°
m² per roll 60
Suitability as temporary covering 12 Weeks
UV resistance 3 months
Temperature resistance -40 °C to +100 °C
Fire classification Class E (according to EN 13501-1)
Resistance to water passage W1 (according to DIN 1928)

ALMO 10 Years Systemgarantie TU Berlin driving rain-proof Nail tightness proven ETA Denmark ZVDH CE Sign

TOPCOAT TPU roofing membrane installation instructions

Step 1 Picture

Step 1: Align and prepare the roof membrane

The ALMO TOPCOAT TPU 240 sarking and underlay membrane should be laid starting at the lower part of the roof pitch and parallel to the eaves. The printed side is the upper side and faces the installer during installation. The membrane is rolled out directly onto the rafters or onto the fully sheathed roof. The underlay should protrude slightly after positioning.

Step 2 Picture

Step 2: Attachment in the eaves area

In the eaves area, the roofing membrane must be fastened under the counter battens on the eaves sheet or above the eaves batten on the gutter lashing. At the same time, water pockets and counterfalls should be avoided. Fasten the underlays to the rafters with nails or staples.

Step 3 Picture

Step 3: Nail sealing tape and counter battens

To keep the rafters watertight, we recommend using a strip of our Nail sealing tape 60 under the counter battens. After spreading the membrane, counter battens and battens should be attached. The counter battens create a gap between the membrane and the battens. Ensure that all points where nails or staples pass through the membrane are sealed with nail sealing tape and are located under the counter battens.

Step 4 Picture

Step 4: Overlapping and bonding underlayments

Another strip of membrane should be applied with a 10-15 cm overlap. To make the installation of the roofing membrane efficient, avoid draughts and keep the overlaps watertight, use the adhesive strips integrated with the membrane, which are glued together.

Step 5 Picture

Step 5: Ridge sealing

For non-ventilated roof constructions, the membrane goes over the ridge to seal it against snow and rain. For ventilated roof constructions, the roof membrane should be approx. 5 cm from the highest ridge point. This ventilation opening should also be secured with a strip of roofing membrane fixed over a counter batten so that the membrane overlaps the roof surface by approx. 20 cm.

Step 6 Picture

Step 6: Sealing for eaves

In the case of roof projections such as chimneys, the sheets should be cut, pulled out and fixed with the ALMO Versa Uni Tape be sealed. Separate strips of membrane are glued to the surface and at the corners. An inclined foil gutter can be installed above penetrating building components. To form a temporary covering, connections to rising building components must also be bonded and secured to prevent them from running behind.

Step 7 Picture

Step 7: Seal overlaps to make them windproof

The resulting overlaps must be bonded laterally and transversely if wind-tightness is required. For a replacement overlap, the membrane strip of a foil gutter is extended to below the next ridge-side height overlap and taped all the way around. The open joints at the corners are taped to make them rainproof. Roof windows are integrated into the opening and fixed in place. If counter battens or the resulting frame are further away from the window, separate strips of membrane can be attached.

Our store reviews
(2)

Content: 60 m² (€2.91 / 1 m²)

From €174.50