Free shipping in the EU
Direct prices for private and commercial
30-day return policy
Ordered today, delivered tomorrow

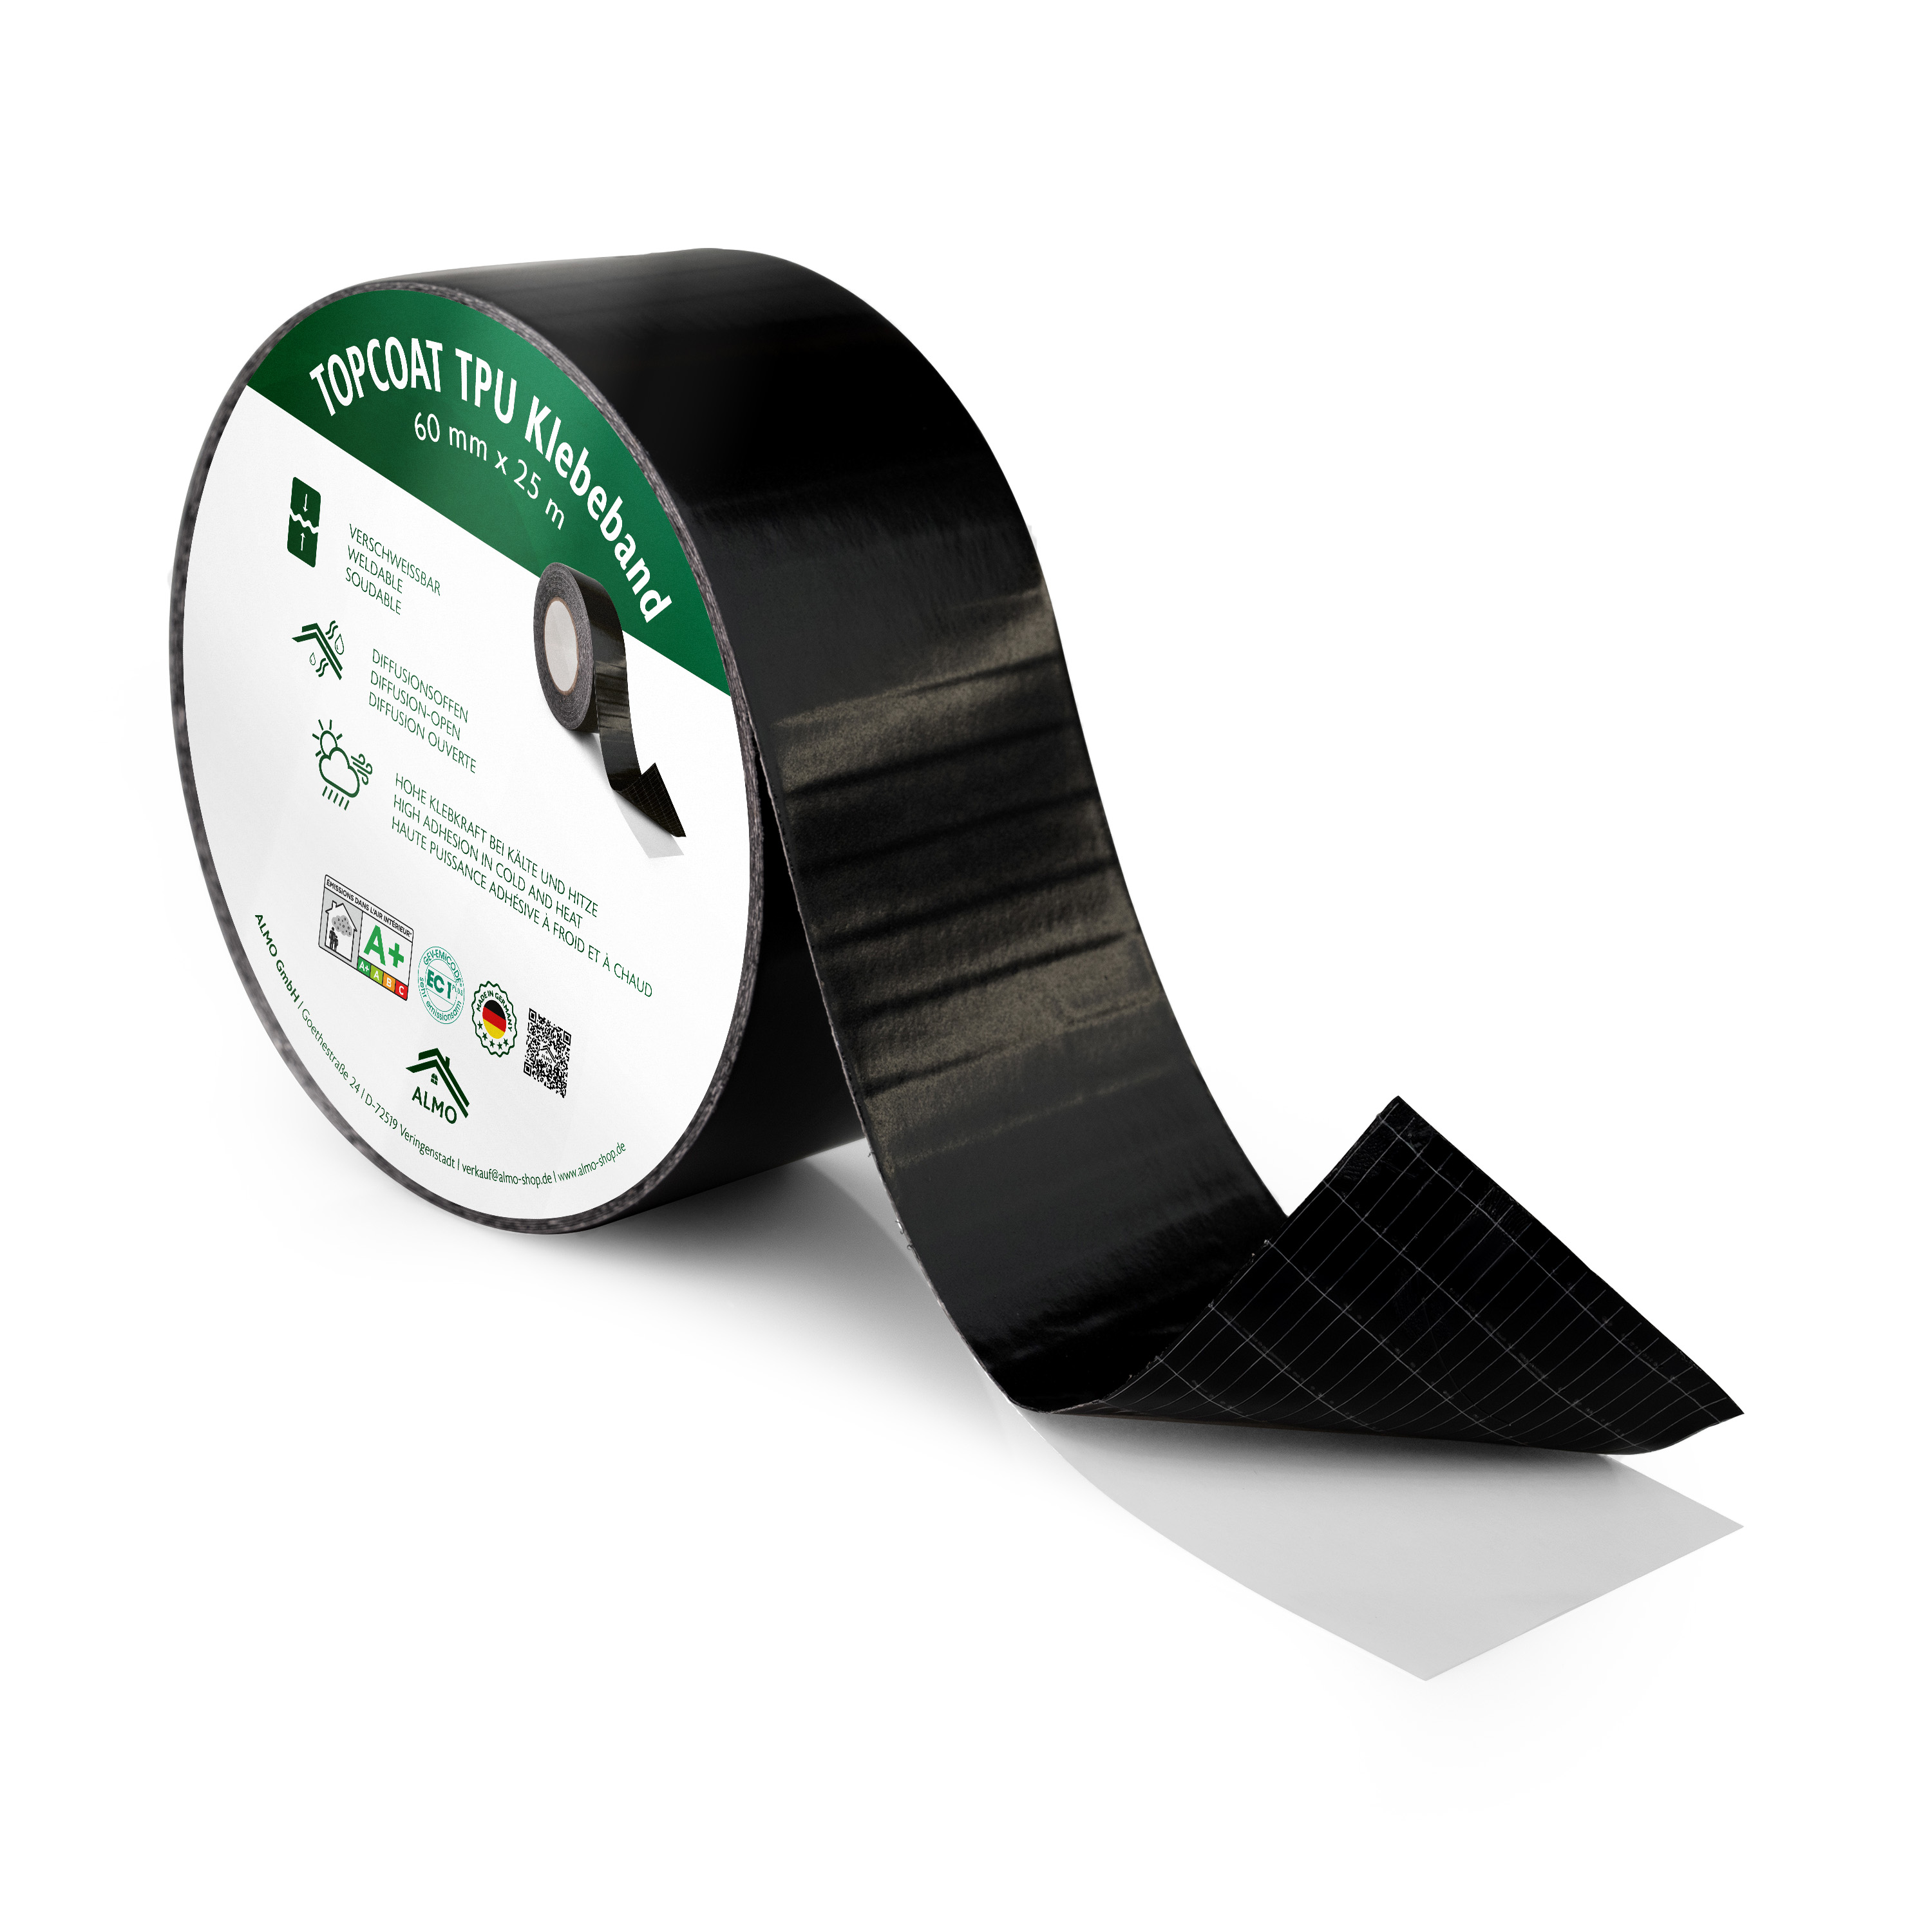
TOPCOAT TPU 60 Tape

€25.00

Content: 25 Running meter (€1.00 / 1 Running meter)
  • TPU coated
  • Open to diffusion
  • Weldable
Dimensions:
25 m X 60 mm
Rolls per Box
10 Rolls
Execution

Available for immediate delivery | leaves our warehouse within 24 hours on working days

Free Shipping

Total:
Rolls
Product number: SW10041.2

  • TPU coated
  • Open to diffusion
  • Weldable

Product advantages

Weldable

Weldable

Seamless sealing

High adhesive strength

High adhesive strength

Firm hold

Open to diffusion

Open to diffusion

Breathable

  • WELDABLE AND OPEN TO DIFFUSION - The ALMO TOPCOAT TPU adhesive tape is specially developed to be weldable and permeable, ideal for airtight and watertight seals.
  • HIGH ADHESIVE STRENGTH - With 230 g/m² dispersion acrylate, our TPU adhesive tape offers extremely high adhesive strength that adheres reliably to both smooth and rough surfaces.
  • TEMPERATURE RESISTANT - The adhesive tape can withstand extreme temperatures, from -40°C to +100°C, and always remains flexible and efficient.
  • ROBUST CARRIER SYSTEM - Made from grid-reinforced TPU CoEx film, our adhesive tape guarantees a long service life and high resistance to mechanical stress.

Technical Data

Features Weldable, open to diffusion
Adhesive Modified dispersion acrylate
Coverage Silicone paper
Functional layer Polyurethane (TPU) coating
Roll length 25m
Width 60mm
UV resistance 12 months
Temperature resistance -40 °C to +100 °C
Processing temperature -5 °C to +40 °C
Our store reviews
Characteristics: Heat-sealable, Diffusion open
Adhesive: Modified dispersion acrylate
Cover: Silicone paper
Functional layer: Polyurethane (TPU) coating
Roll length: 25m
Width: 60mm
UV-resistance: 12 months
Temperature resistance: -40 °C to +100 °C
Processing temperature: -5 °C to +40 °C

Use for this

Use with

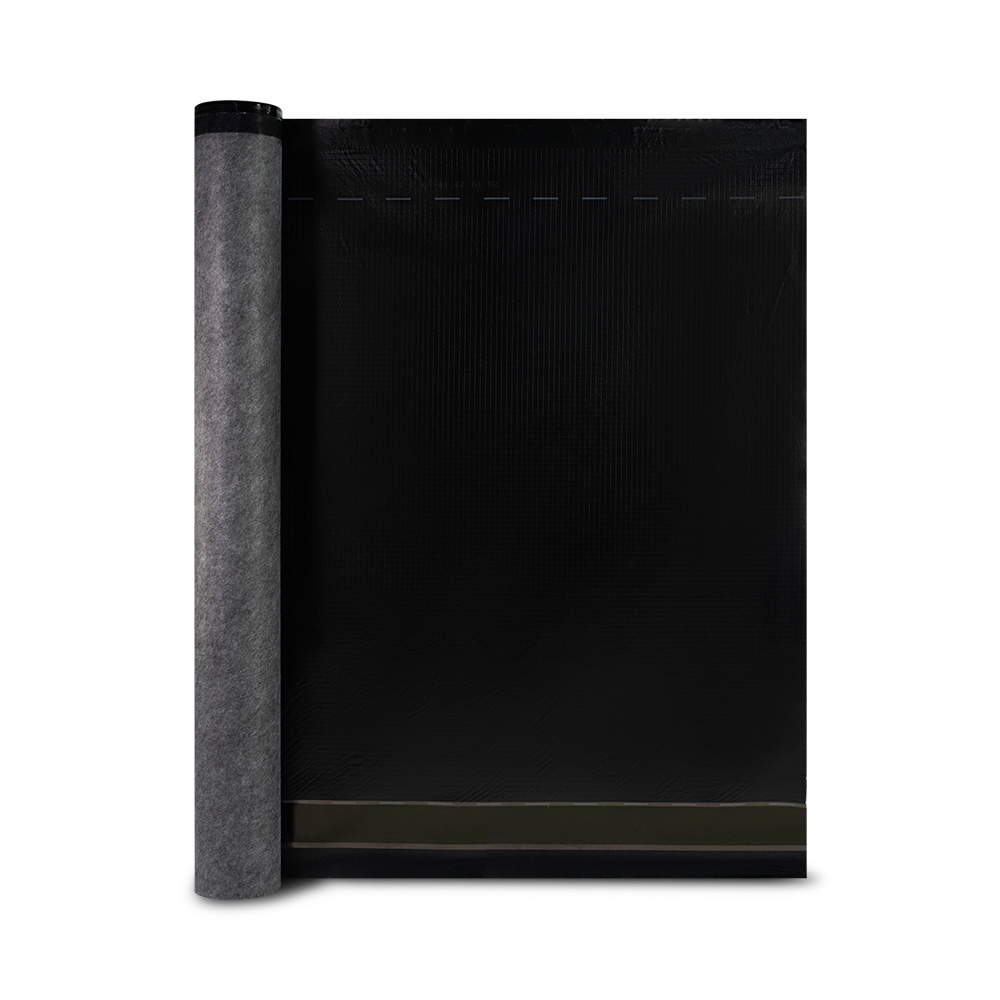
TOPCOAT TPU 240 Roof membrane
  • Nail-tight
  • Highly diffusible
  • TPU coating

Product advantages

Nail-tight

Nail-tight

Penetration protection

UV-resistant

UV-resistant

Long-term protection

Temperature resistant

Temperature resistant

Withstands extreme conditions

  • UV-RESISTANT & DURABLE - With a UV resistance of up to 3 months and a robust polyurethane (TPU) coating, our underlayment offers long-lasting protection and durability.
  • NAIL-TIGHT & RESISTANT TO DRIVING RAIN - The TOPCOAT TPU 240 underlay offers high nail tightness and is resistant to driving rain to ensure maximum protection in all weather conditions.
  • HIGHLY DIFFUSIBLE - The sd value of 0.15 m guarantees effective moisture regulation and prevents condensation, thereby preventing mold growth.
  • TEMPERATURE RESISTANCE - Withstands extreme temperatures from -40°C to +100°C while remaining flexible and functional.
  • TIME SAVING - The integrated self-adhesive seam saves time during installation and ensures quick and secure installation, even with overlaps and connections.

Technical Data

Application Underlayment
Features Self-adhesive seam, nail-tight
Carrier system Polyester fleece
Functional layer Polyurethane (TPU) coating
Grammage 240 g/m²
Diffusion-equivalent air layer thickness (sd value) 0,15m
Roof pitch 10°
Maximum tensile force longitudinal / transverse in N / 50mm 350/310
Roll length 40m
Width 1,5m
m² per roll 60
Suitability as temporary covering 12 Weeks
UV resistance 3 months
Temperature resistance -40 °C to +100 °C
Fire classification Class E (according to EN 13501-1)
Resistance to water passage W1 (according to DIN 1928)

TOPCOAT TPU roofing membrane installation instructions

Step 1 Picture

Step 1: Align and prepare the roof membrane

The ALMO TOPCOAT TPU 240 sarking and underlay membrane should be laid starting at the lower part of the roof pitch and parallel to the eaves. The printed side is the upper side and faces the installer during installation. The membrane is rolled out directly onto the rafters or onto the fully sheathed roof. The underlay should protrude slightly after positioning.

Step 2 Picture

Step 2: Attachment in the eaves area

In the eaves area, the roofing membrane must be fastened under the counter battens on the eaves sheet or above the eaves batten on the gutter lashing. At the same time, water pockets and counterfalls should be avoided. Fasten the underlays to the rafters with nails or staples.

Step 3 Picture

Step 3: Nail sealing tape and counter battens

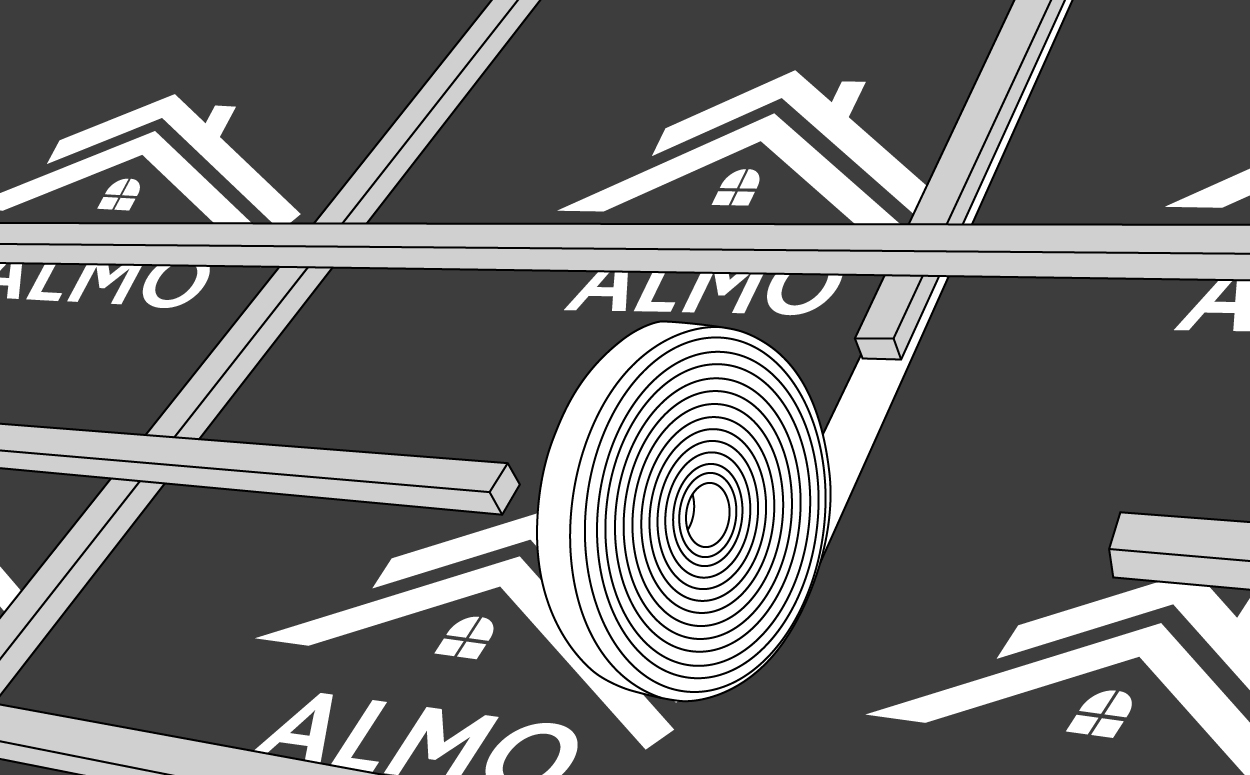
To keep the rafters watertight, we recommend using a strip of our Nail sealing tape 60 under the counter battens. After spreading the membrane, counter battens and battens should be attached. The counter battens create a gap between the membrane and the battens. Ensure that all points where nails or staples pass through the membrane are sealed with nail sealing tape and are located under the counter battens.

Step 4 Picture

Step 4: Overlapping and bonding underlayments

Another strip of membrane should be applied with a 10-15 cm overlap. To make the installation of the roofing membrane efficient, avoid draughts and keep the overlaps watertight, use the adhesive strips integrated with the membrane, which are glued together.

Step 5 Picture

Step 5: Ridge sealing

For non-ventilated roof constructions, the membrane goes over the ridge to seal it against snow and rain. For ventilated roof constructions, the roof membrane should be approx. 5 cm from the highest ridge point. This ventilation opening should also be secured with a strip of roofing membrane fixed over a counter batten so that the membrane overlaps the roof surface by approx. 20 cm.

Step 6 Picture

Step 6: Sealing for eaves

In the case of roof projections such as chimneys, the sheets should be cut, pulled out and fixed with the ALMO Versa Uni Tape be sealed. Separate strips of membrane are glued to the surface and at the corners. An inclined foil gutter can be installed above penetrating building components. To form a temporary covering, connections to rising building components must also be bonded and secured to prevent them from running behind.

Step 7 Picture

Step 7: Seal overlaps to make them windproof

The resulting overlaps must be bonded laterally and transversely if wind-tightness is required. For a replacement overlap, the membrane strip of a foil gutter is extended to below the next ridge-side height overlap and taped all the way around. The open joints at the corners are taped to make them rainproof. Roof windows are integrated into the opening and fixed in place. If counter battens or the resulting frame are further away from the window, separate strips of membrane can be attached.

Our store reviews
(2)

Content: 60 m² (€2.64 / 1 m²)

From €158.50

Reviews

1 of 1 reviews

5 out of 5 stars


100%

0%

0%

0%

0%


Leave a review!

Share your experiences with other customers.


10 November 2023

tiptop

Kannte sowas von SIKA und habe das hier ausprobiert. Viel günstiger und funktioniert genauso. Die Oberfläche lässt sich sehr gut erhitzen und dann verschweissen mit der TPU Bahn.
Use with

TOPCOAT TPU 240 Roof membrane
  • Nail-tight
  • Highly diffusible
  • TPU coating

Product advantages

Nail-tight

Nail-tight

Penetration protection

UV-resistant

UV-resistant

Long-term protection

Temperature resistant

Temperature resistant

Withstands extreme conditions

  • UV-RESISTANT & DURABLE - With a UV resistance of up to 3 months and a robust polyurethane (TPU) coating, our underlayment offers long-lasting protection and durability.
  • NAIL-TIGHT & RESISTANT TO DRIVING RAIN - The TOPCOAT TPU 240 underlay offers high nail tightness and is resistant to driving rain to ensure maximum protection in all weather conditions.
  • HIGHLY DIFFUSIBLE - The sd value of 0.15 m guarantees effective moisture regulation and prevents condensation, thereby preventing mold growth.
  • TEMPERATURE RESISTANCE - Withstands extreme temperatures from -40°C to +100°C while remaining flexible and functional.
  • TIME SAVING - The integrated self-adhesive seam saves time during installation and ensures quick and secure installation, even with overlaps and connections.

Technical Data

Application Underlayment
Features Self-adhesive seam, nail-tight
Carrier system Polyester fleece
Functional layer Polyurethane (TPU) coating
Grammage 240 g/m²
Diffusion-equivalent air layer thickness (sd value) 0,15m
Roof pitch 10°
Maximum tensile force longitudinal / transverse in N / 50mm 350/310
Roll length 40m
Width 1,5m
m² per roll 60
Suitability as temporary covering 12 Weeks
UV resistance 3 months
Temperature resistance -40 °C to +100 °C
Fire classification Class E (according to EN 13501-1)
Resistance to water passage W1 (according to DIN 1928)

TOPCOAT TPU roofing membrane installation instructions

Step 1 Picture

Step 1: Align and prepare the roof membrane

The ALMO TOPCOAT TPU 240 sarking and underlay membrane should be laid starting at the lower part of the roof pitch and parallel to the eaves. The printed side is the upper side and faces the installer during installation. The membrane is rolled out directly onto the rafters or onto the fully sheathed roof. The underlay should protrude slightly after positioning.

Step 2 Picture

Step 2: Attachment in the eaves area

In the eaves area, the roofing membrane must be fastened under the counter battens on the eaves sheet or above the eaves batten on the gutter lashing. At the same time, water pockets and counterfalls should be avoided. Fasten the underlays to the rafters with nails or staples.

Step 3 Picture

Step 3: Nail sealing tape and counter battens

To keep the rafters watertight, we recommend using a strip of our Nail sealing tape 60 under the counter battens. After spreading the membrane, counter battens and battens should be attached. The counter battens create a gap between the membrane and the battens. Ensure that all points where nails or staples pass through the membrane are sealed with nail sealing tape and are located under the counter battens.

Step 4 Picture

Step 4: Overlapping and bonding underlayments

Another strip of membrane should be applied with a 10-15 cm overlap. To make the installation of the roofing membrane efficient, avoid draughts and keep the overlaps watertight, use the adhesive strips integrated with the membrane, which are glued together.

Step 5 Picture

Step 5: Ridge sealing

For non-ventilated roof constructions, the membrane goes over the ridge to seal it against snow and rain. For ventilated roof constructions, the roof membrane should be approx. 5 cm from the highest ridge point. This ventilation opening should also be secured with a strip of roofing membrane fixed over a counter batten so that the membrane overlaps the roof surface by approx. 20 cm.

Step 6 Picture

Step 6: Sealing for eaves

In the case of roof projections such as chimneys, the sheets should be cut, pulled out and fixed with the ALMO Versa Uni Tape be sealed. Separate strips of membrane are glued to the surface and at the corners. An inclined foil gutter can be installed above penetrating building components. To form a temporary covering, connections to rising building components must also be bonded and secured to prevent them from running behind.

Step 7 Picture

Step 7: Seal overlaps to make them windproof

The resulting overlaps must be bonded laterally and transversely if wind-tightness is required. For a replacement overlap, the membrane strip of a foil gutter is extended to below the next ridge-side height overlap and taped all the way around. The open joints at the corners are taped to make them rainproof. Roof windows are integrated into the opening and fixed in place. If counter battens or the resulting frame are further away from the window, separate strips of membrane can be attached.

Our store reviews
(2)

Content: 60 m² (€2.64 / 1 m²)

From €158.50